Let me confess: I’m a SONY lover. I have a SONY TV, a SONY CD player, and a SONY mobile phone. My SONY Xperia Go is splash- and dust-proof; I’ve been happy with it since I’ve bought it.
As time passes, I wanted to replace the phone. So I bought a replacement, a nice and shiny XPERIA Z3. I took out the microSD card from my old phone, inserted it into the Z3, and let it initialize the card. And… where are the photos I took with my trusty Go? Panicking, I quickly moved the card back into the Go, but all the photos I’ve shot during the past two years were gone.
Data Recovery Company
What have I done? What should I do? I went to my computer and started looking for a data recovery company. After 30 seconds of googling, I stumbled upon Data Recovery Company. A quick visit to their Web site revealed they have quite a number of tools, all differently named and priced. Wait a second. Do I need Disk Recovery, FAT Recovery, Photo Recovery, File Recovery or Partition Recovery? I want to recover files… which are photos… from a memory card… formatted in FAT32. Which tool should I choose?
I don’t have all the time in the world, so I decided to call. “Hello”, I’ve heard two minutes later. “How can I help you?”
After explaining my situation and expressing my frustration choosing the right tool among the many products, I’ve heard a reassuring “You need Photo Recovery. Please download that tool, insert your memory card into a card reader and try scanning the card. You should see all your pictures listed in about two minutes. You can click through them, and if the correct preview shows up, you’re guaranteed to get your photos back”.
Okay, I went ahead and downloaded Starus Photo Recovery here:
After installation, I was greeted with the Recovery Wizard:
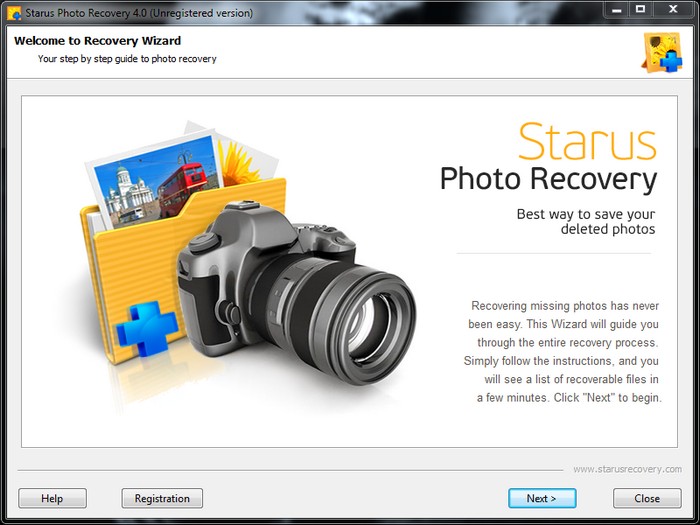
I removed the microSD card from the phone, and inserted it into my card reader. Then I clicked Next. The tool prompted for a disk to recover photos from:
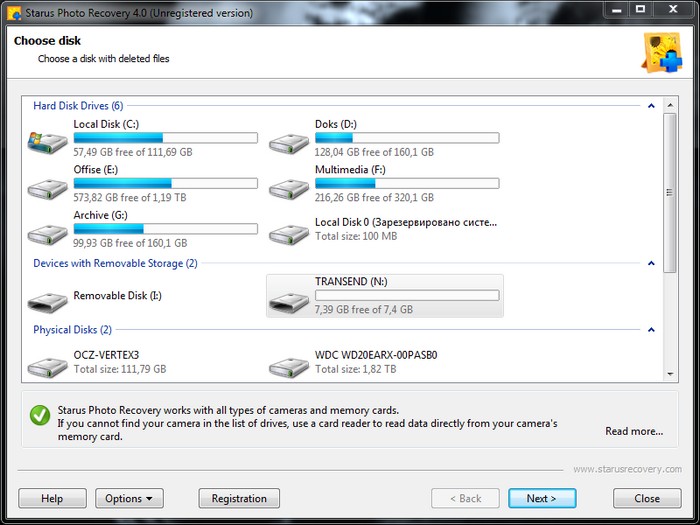
I selected my memory card, and clicked Next. When asked to choose between “Quick” and “Full” recovery options, I selected “Full”.
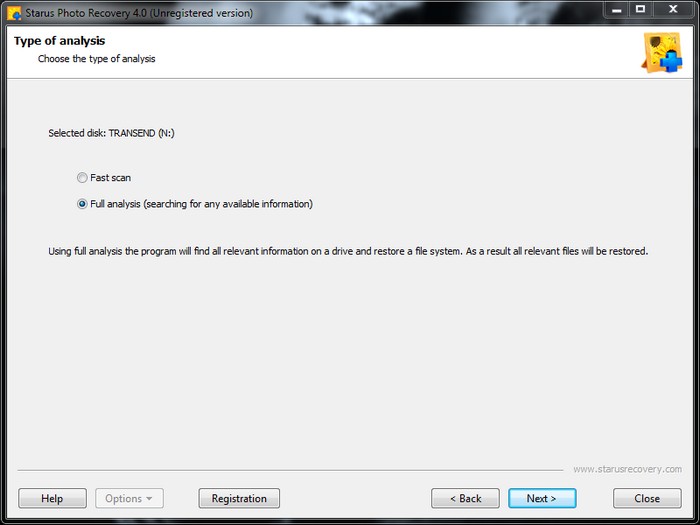
Finally, the scanning has started:
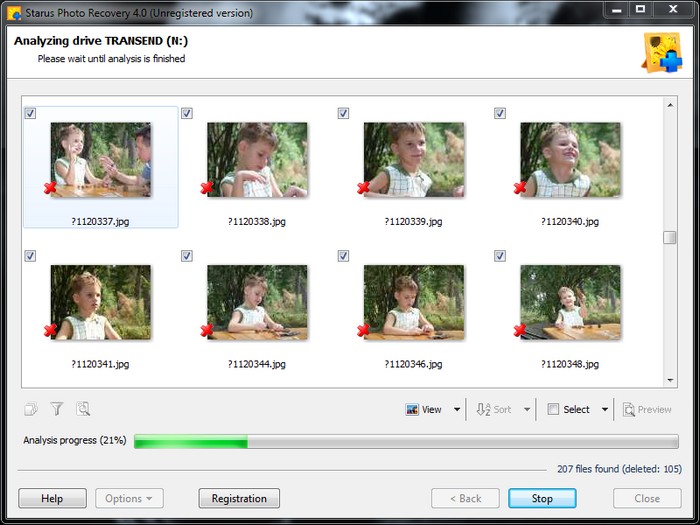
Did they say two minutes? It took Photo_Recovery about 15 minutes to finish scanning my 8 GB memory card. My patience was rewarded with the beautiful view of nearly 400 photos – everything I shot during the past two years!
I clicked through some of the photos, and all appeared to preview with no problem.
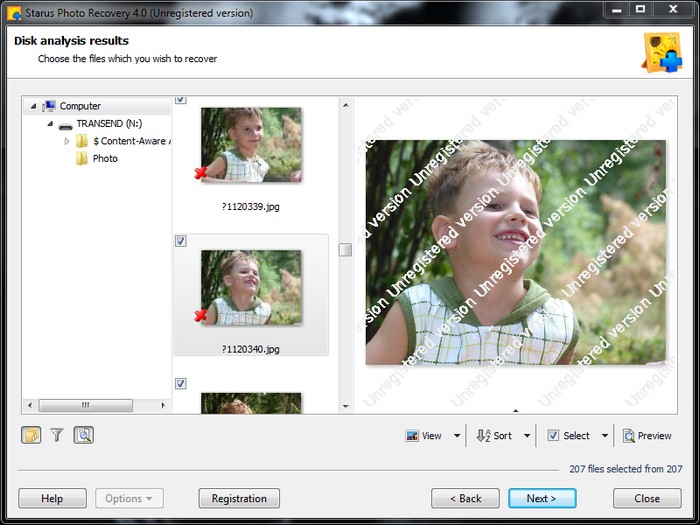
So I went ahead and paid for the tool. Five minutes later, I received an email with an unlock code. After entering that code into the unlock screen, I was able to proceed to the last step: saving the photos to a hard drive. With just 8 gigs of data, I didn’t need any of the storage options offered by the took, but as you can see they can save your data to pretty much everywhere from a local hard drive to a remote FTP server:
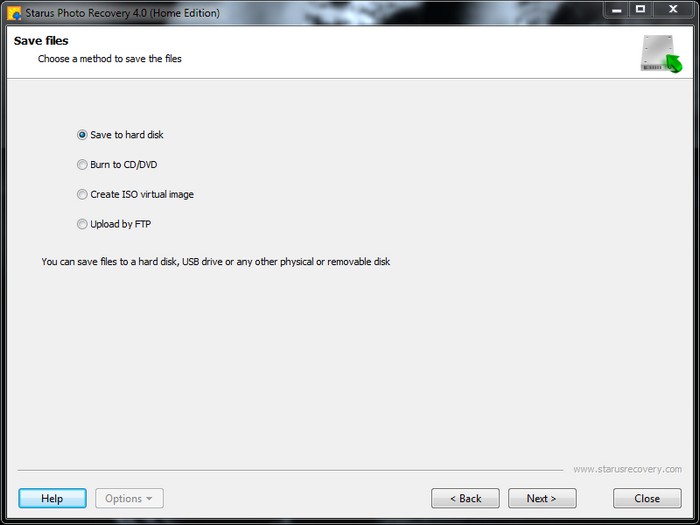
After clicking Next and waiting for 10 more minutes, I had my entire photo gallery saved to the hard drive. Hurrah! After 30 minutes of stress, I’m rewarded with all my files back!
Thanks Starus Recovery Company, you’re life saviors! Dmitriy Belgorodskiy


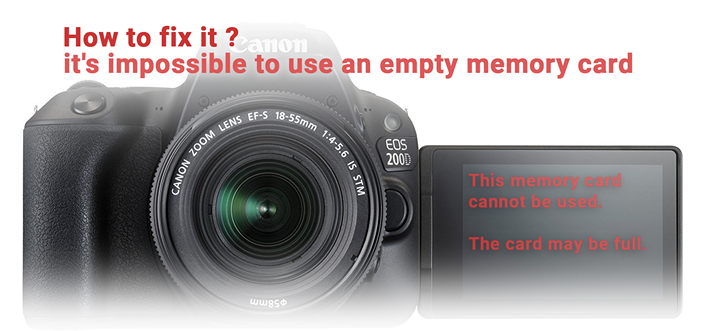
If you are familiar with other effective photo recovery methods on your smartphone, share your experience in the comments!
WOW just what I was looking for. Came here by searching for compactflash