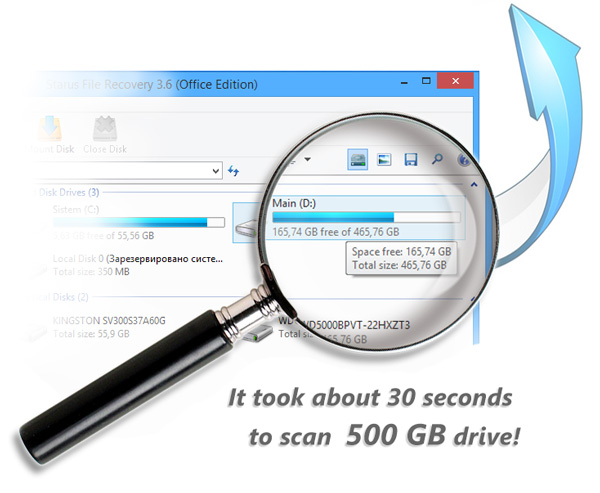
Scanning the disk and generating the list of deleted files and folders is only a matter of seconds. You’ll be able to access your files right away with built-in instant preview. Fully guided, step-by-step wizard, simple user interface and high-quality internals make Starus File Recovery stand out of the crowd.
Recovering Deleted Files
We’ve created a comprehensive tutorial covering the entire recovery process from installing the tool to saving data. Please read carefully from the very beginning, as this guide contains information that is essential to the safety of your data.
Installing Starus File Recovery
If you’ve installed one Windows tool, you’ve installed them all… or not? With data recovery tools such as Starus File Recovery, there is a special consideration as to WHERE to install the tool to. We recommend to never attempt installing Starus File Recovery onto the same disk or volume you’ll be recovering files from. Otherwise, you’ll be risking to lose some or all deleted files by overwriting them with the very tool you want to recover them with.
Use a different drive letter or maybe a USB flash drive to install Starus File Recovery to.
Recovering Files with Instant Preview
Launch Starus File Recovery, and you’ll be greeted with a welcome screen. To begin recovering, you’ll need to select the disk that holds the files you’re about to recover. Starus File Recovery will begin analyzing the disk and displaying its content in real time. After completing the analysis, you’ll see the list of available folders in the left part of the window. Similar to Windows Explorer, clicking on a folder on the left will display its contents on the right.
Starus File Recovery offers convenient searching and filtering. While using the “Search” function will return the list of files matching the search criteria, using the “Filter” option will enable you to only see deleted files, existing files, or both.
You can click on any file to see its preview. The preview is instant, and does not use any third-party tools. Finally, when you are ready to recover the files, select one or more files and folders and click “Recover” on the toolbar. A wizard will launch to help you choose the location for recovered files.
Step By Step Recovery
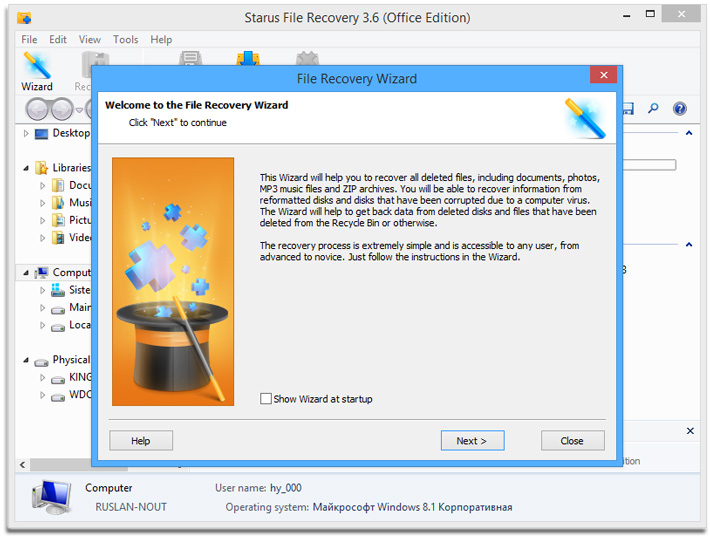
Should you rather use an easier, step-by-step interface, you can make use of the provided Data Recovery Wizard. In order to launch the wizard, just use the File – Wizard command from the main menu. When prompted, simply follow the instructions.
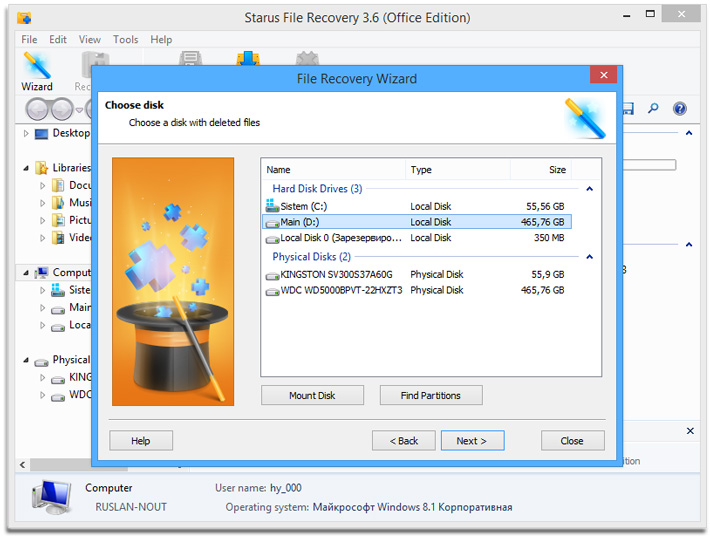
The wizard will prompt you to select a disk volume or device to recover from the list of available storage devices. Choose a device to recover, and click Next.
On the following screen you’ll be prompted to make a choice between Quick Scan and Deep Analysis modes. The Quick Scan mode works near instantly by scanning the file system looking for recoverable files and folders. This option is great if you have only recently deleted one of more files. This option works so fast it’s worth a try even if you deleted a file a long time ago.
The Deep Analysis mode is the opposite of Quick Scan. In this mode, the tool will read the entire content of the storage device in order to detect, identify and locate deleted files of supported types such as documents, pictures or email messages (several hundred file types in total). The Deep Analysis mode uses a built-in database of characteristic signatures to match information it reads from the hard drive, detect and locate known types of files even if they no longer appear in the file system. Note: in Deep Scan mode, original file names and attributes (date, time etc.) cannot be recovered.
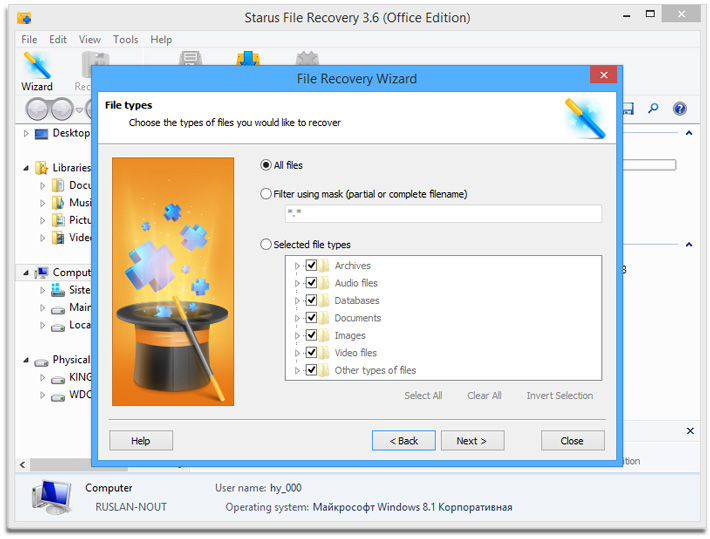
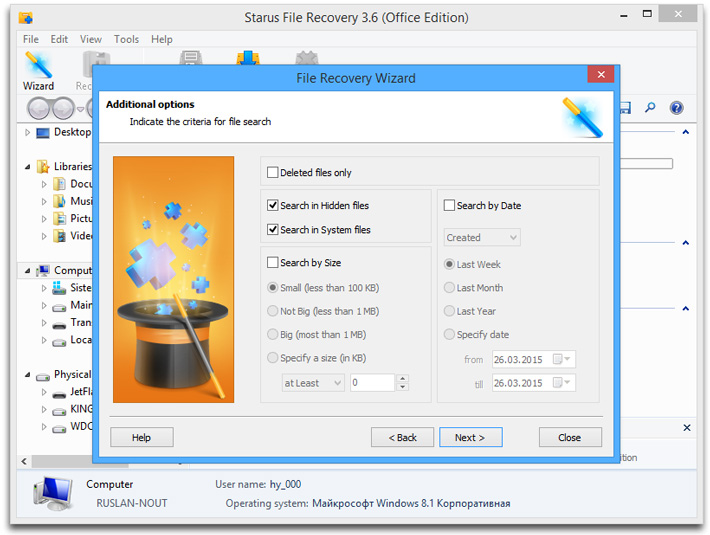
On the next step, you’ll be able to specify the types of files to recover. You can set the tool to only look for deleted files, enable or disable searching for system and hidden files. In addition, you can look for files within a certain size range and having a certain create/modify date. The tool will be adding files to the list in real time as they are being discovered. You can switch views and sort modes, view and change file properties if required.
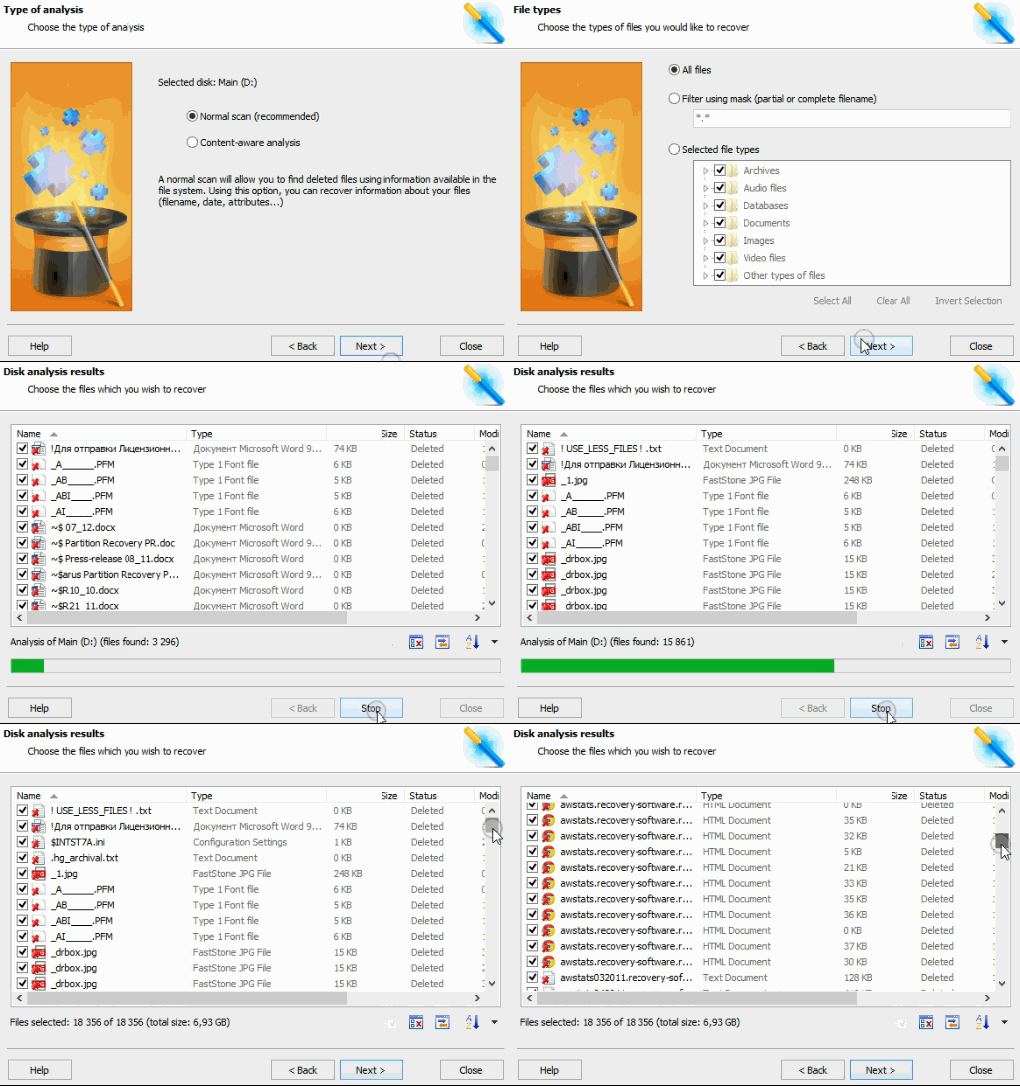
After the analysis completes, select files you’d like to recover and click Next to save them onto a new device. Note that you can browse through discovered files. A single click on a file invokes built-in instant preview allowing you to see the content of a file before you recover it. The preview can show documents, display pictures and play back multimedia files in several hundred formats. If the preview comes out corrupted, most probably some parts of a file were overwritten, and you won’t get a working one after recovery. If this is the case, try looking for another copy of the same file as it may not have the same damage.
Saving the Files
While this is the easiest part of the recovery process, it is important to realize one thing: you should never save files being recovered onto the same disk you are recovering them from. If you start saving files onto the same device they’ve been once deleted, you’ll overwrite what remains of your other files and ruin the entire recovery effort. Always save your files elsewhere!
And this is exactly where Starus File Recovery excels. The tool allows you saving files onto a different drive letter, USB pen drive or memory card. Not only that; you can also burn files directly onto a CD/DVD media by using a built-in burner, or make a bunch of burnable ISO images (make sure to store them onto a different disk though). Finally, if you simply don’t have enough local storage, you can upload the files directly onto an FTP server.
So let’s have a closer look at all the different saving options.
Saving Onto a Hard Drive
Using a hard drive to receive files being recovered is by far the fastest and easiest way. As noted earlier, it is important to should never use the same storage device you are recovering to receive files being saved. By all means, use a different hard drive, or you’ll ruin your entire recovery effort.
Other than that, the process is fairly simple. Specify the folder to receive files being saved, and click Recover. That’s about it, unless you want to set some advanced options.
If you only want to recover deleted files and skip existing files and folders, select “Only recover deleted files” option. This option is only available if you are saving files directly from the tools’ main window, and not available from the recovery wizard.
If you’d like to restore the original folder structure along with the files, use “Recover folder structure”. If selected, this option will re-create the original folders and sub-folders. Otherwise, all recovered files will be placed into a single folder. Note that this option is only available from the main window, and not available from the recovery wizard.
In addition to main data stream, you can also restore NTFS alternative data streams. For this, select “Recover alternative data streams” in the recovery options. This is an advanced option. If you don’t know what NTFS alternative data streams are, you definitely don’t need to select this option.
Note that some files will be missing the first character in their names; it will be replaced with a special character. Some files may be missing other parts of their names. You can specify which special character to use instead of the missing symbols by using the “Replace unknown characters with” option. If this option is not active, you will be prompted during the recovery.
Burning a CD / DVD
If you don’t have enough free space, or if you don’t have a dedicated storage device to accept files being recovered, you may use the CD/DVD option to make optical disks containing the recovered files. The process is similar to using any other CD/DVD burner. You’ll need to specify the writing device first, then insert a blank media. If using rewriteable media, you may need to erase it first.
Available options include burning speed, disk label and file system. You can burn multisession disks by enabling the corresponding option. If a multisession disk is inserted, the tool will automatically offer to continue existing session or open a new one.
Making ISO Images
ISO images are large files that can be burned onto a CD or DVD later on. The tool can save your recovered files into one or more ISO images. Similar to burning a CD or DVD, you will need to specify disk label and file system.
FTP Upload
FTP upload comes handy when you need to upload files being recovered onto a remove server via the FTP protocol. Starus File Recovery comes with a built-in FTP client allowing for direct upload. You will need to specify FTP server address and configure any additional settings if required. You can also use a certain remote folder to save the files to. Note that FTP connections are slower than direct hard drive writes; therefore, if you are using FTP upload, the recovery may take longer than if you were using a local hard drive. In addition, FTP transfer speeds are highly dependent on (and limited by) your network connection speed. Finally, the FTP protocol introduces significant overhead on file operations, meaning that there is a certain delay (typically between 0.5s to 2s) when creating a new file or folder. As a result, recovering a lot of individual small files can take a very long time if FTP upload is used.