Good day to day, friends! Today we will look at the important for many users the issue of repairing a damaged flash drive and restoring the data stored on it. You should agree, the situation is not pleasant when you lose your personal documents without the possibility of their further recovery. These can be valuable photos from family vacations, the results of your creative activity or even the data on which your whole career depends.
But do non start panicking! Regardless of the type you can recover any document and will be able to work with it. However, before we proceed directly to the repair of damaged media and the “reanimation” of previously lost content, let’s consider the symptoms of the problem themselves.
In case of of damage to the flash drive, the following messages may appear on the user screen:
- USB device is not detected.
- The device connected to the computer is damaged and Windows does not detected it.
- One of the devices connected to this computer does not work and Windows does not recognize it. To help solve this problem, click on the message.
- Unknown drive or failed port.
- The request for the device descriptor failed. Error 43.
- Device connection failure.
As you can see, the list of possible messages is quite extensive. However, do not be afraid of the quantity, because it does not affect the success of your actions aimed at correcting the error.
In this article, we will look at several effective ways to repair a damaged flash drive and a mechanism for recovering lost data. We have specially arranged them in order of complexity, which will allow you to save your personal time to a significant extent, starting with the simplest.
Data recovery from a damaged flash drive
Finally, the flash drive is functional again and we can proceed directly to work on saving the lost files. Unfortunately, Microsoft has not provided its own specialized software that would help users at any time to recover the deleted content, so the only available way is to use third-party software.
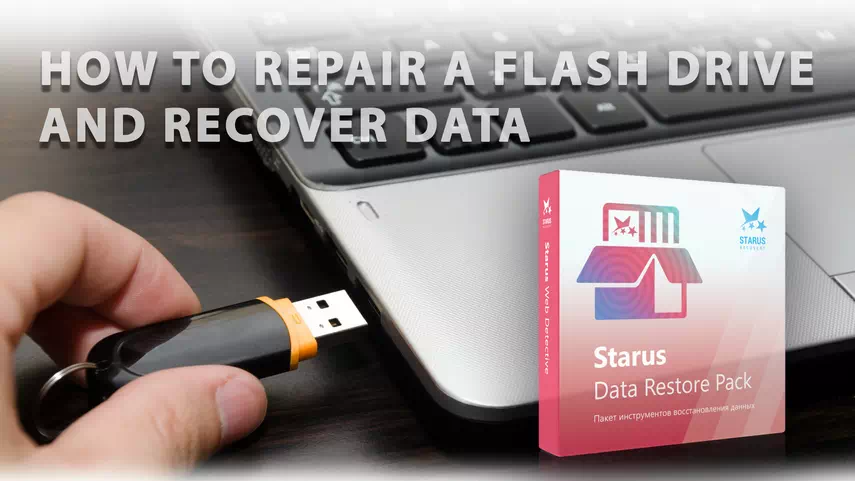
We recommend using Starus Partition Recovery application. This program is designed specifically for recovering files in harsh working conditions with damaged drives, when other software loses any effectiveness.
Software Features:
- Compatible with all versions of Windows operating system.
- Convenient, intuitive English interface.
- The presence of step-by-step instructions that will guide you through all stages of working with the program.
- The possibility of in-depth analysis.
- Distribution of found files by signature (format).
- The presence of a preview window. You will be able to study in advance both graphic and text documents.
- Availability of all types of exports.
How to recover data from a damaged device?
1. Launch the Starus Partition Recovery application.
2. Select the drive that you want to scan.
3. Select the desired type of analysis.
4. Wait for the scan to complete.
5. Examine the files found using the preview window.
6. Highlight the required documents, right-click on any of them and press Restore button.
7. Choose the most convenient way to export.
Done!
Note!
Do not, under any circumstances, export documents to the drive from which you are restoring. This action may lead to their permanent loss.
Repairing a damaged flash drive
Connecting to another USB port
The first action in our list is to test the USB port. Very often, we do not pay attention to the most obvious, while losing the opportunity to get an instant solution of even the seemingly most difficult issue.
If you connected a USB flash drive into your computer and Windows cannot identify it, there is a possibility of direct damage to the device port. Try to connect the flash drive to another port and check its performance again.
Connecting to another PC
With the passing of time, the development of technology and falling prices for various devices, many users, are increasingly beginning to purchase laptops along with a desktop computers. For some, it is a source of entertainment like watching movies, while for others it is a means of earning. Regardless of the reason, the purchased device can always be useful not only in relation to its main task, but also helps to check the performance of any USB flash drive or SD card.
Try connecting the flash drive to your laptop or second computer to make sure it works. In case this solution was useless, let’s consider the following method.
Updating drivers
As you probably know, outdated, or completely missing drivers can significantly affect the performance of all connected devices. No matter how unexpected this statement may seem, USB-drives, like any other device, also require timely updated drivers.
To install the latest software for your flash drive, follow the instructions below.
1. Open the Run utility. (using Win + R key combination)
2. In the dialog box that opens, enter devmgmt.msc and press Enter button.
3. Expand the disk devices list and find the USB flash drive whose driver you want to update.
4. Right-click on the device and select Update Driver button.
5. Click on the Search automatically for updated drivers command and wait for the process to complete.
It is done!
If the above method did not help you, proceed to the next.
Repairing flash drive using Explorer
This method is most popular among all users of the Microsoft Windows operating system. The reason for this is its simplicity and efficiency. Let’s look at the recovery process in more detail.
1. Open My Computer / This Computer window.
2. In the presented list of drives, find the desired one and right-click on it.
3. Select Format button..
4. Click the Restore Defaults option.
5. Press the Start button and wait until formatting is complete.
Done!
In case the formatting turned out to be useless for restoring the flash drive, it’s time to go to the “heavy artillery” – the command line.
Repairing a flash drive with CMD
The command line is one of the most difficult and, at the same time, effective tools for working with the operating system and PC components. It often helps even when all other utilities are powerless and allows to recover computer operational when the operating system reports a complete failure. So, how can we apply it with respect to repairing a flash drive?
The method, which we consider below, is inherently no different from the previous one; With one exception – formatting is done by force. This feature allows you to restore the flash drive to its original settings, even if that other failure blocks this possibility.
So how to perform repair of a flash drive using the command line?
1. Connect the damaged flash drive to the computer.
2. Open the start menu and enter the following: command line or cmd.
3. Run the application as an administrator.
4. Type diskpart and press Enter key.
5. Type list disk and press Enter key. You will see a list of all drives connected to your computer.
6. Enter select disk command (your flash drive number) and press Enter key.
For example: select disk 1. Make sure that the drive number is entered correctly. Otherwise, you risk formatting the wrong drive.
7. Type clean and press Enter key.
8. Enter create partition primary command and press Enter.
9. Type active and press Enter key.
10. Enter select partition 1 command.
11. Type format fs=fat32 and press Enter key.
12. Wait for the formatting process to complete.
Done!
If this method was ineffective, then probably the only thing that can help you is a physical repair of a flash drive or the acquisition of a new one. Nevertheless, we recommend to pay attention to the next chapter.
Repairing using specialized software
Some manufacturers of flash drives have a particular interest in serving their customers. If your flash drive had any failure, we recommend that you visit the manufacturer’s website and install software designed specifically for your device if available. There is some chance that it will help bring the drive back to life.
For those who could not restore the flash drive using conventional methods, we have prepared a tutorial for manual repair of the device.
Physical repair
It is not always possible to restore the drive in the usual way. If you are not afraid of difficulties or you like to discover new areas of activity for yourself, try to make a personal physical repair of the flash drive.
Let’s look at the process in more detail:
1. Remove the flash drive case.
You need to be extremely careful in the process, because there is a real risk of irreparable damage to the device by damaging the board. Any careless movement can destroy all chances of data recovery.
2. Visually inspect the board for possible damage.
Contacts must be soldered securely. If they are not, it is necessary to make the appropriate repair. It is extremely important in the process not to “burn” healthy parts of the board.
Done!
In some cases, the USB-pin can not be soldered to the board. Therefore, in this situation, we need the following:
1. Find an unnecessary USB cable.
2. Trim the plug.
3. Divide 4 cable wires. At the same time, leave a spare distance to the connector in case you cannot solder the first time.
4. Apply light solder to each wire.
5. Carefully solder each wire to the board in the correct order. Put the USB flash drive on the table with the board to the left and the contacts to the right. It is necessary to solder in the following order:
- Red wire;
- White wire;
- Green wire;
- Black wire;
Not observing this order can damage the flash drive.
Done!
Now you can connect the USB flash drive to your computer and start data recovery.