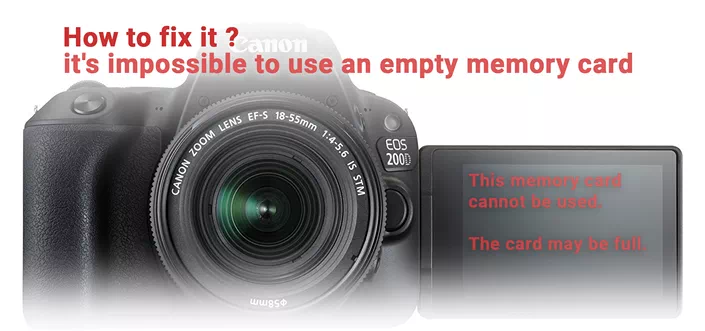
From time to time, an error may occur on the user’s SD card, when the camera starts to report that there ison it no free space, although the photographer knows that it is empty. If you encounter such a situation, then you have come to the right place and our article will help you fix the problem of the drive.

Let’s look at a couple of examples from user stories to learn more about the topic.
The first case.
The user deleted some images from an SD card on the laptop and when he installed it back into the Sony Alpha camera, user found out that a card could not be used due to being full. However, when you try to view the contents, the device does not display images.
Case two.
A user with the same camera had a similar situation, but in reverse order. At first, the error appeared on camera and only then, when trying to connect the card to the computer, the operating system was unable to open the contents of the drive.
Is there any way to solve the issue? And if so, which is the one?
If SD card of the camera unexpectedly faces a problem of being full, you should be interested to know its possible causes.
- 1) There are invisible or hidden files on the media, so the SD card appears to be out of free space, although at first glance there is nothing on it.
- 2) Format error. Perhaps you removed the card at the wrong time, causing the file system to crash.
- 3) Camera problem.
Solution one. Display and export hidden files
Step 1. Export and restore hidden files from the SD card.
The first thing you need to remember in this situation – you should not panic, losing access to information stored on the drive. Unfortunately, in the standard list of Windows software there are no utilities that can recover files, so you have to use specialized third-party software.
Starus Photo Recovery will be a good choice for both beginners and professional photographers. The application allows the user to forget about the risks of losing important images from weddings and other important events due to a failure of the SD card.
1. Connect the card to the computer. Run the Starus Photo Recovery file recovery program and select the drive you want to scan in the list provided.
2. Select the type of analysis, according to your needs. A quick scan will allow you to make a lightning-fast drive assessment, finding all the latest files on it. A full analysis will help to perform an in-depth scan of the SD card and find even the oldest files that you may have already forgotten about.
3. Optionally, you can specify additional search options, thereby eliminating unwanted or unnecessary files from the list.
4. Wait until the scanning process is complete and examine the results carefully. In the provided list of files you can find the necessary images to restore, while having the ability to preview in the program window on the right. In addition to the photo itself, Starus Photo Recovery gives the user the opportunity to see the date when the file was created, its format and resolution in pixels.
5. Having decided on the images you need to restore, select the ones you need and click Next button (by default, all found files are highlighted). Choose the most convenient method from the proposed four and complete the data export process.
Step 2: Show hidden SD-card files
1. Open the Start menu and type Control panel in the dialog box, or open It from the menu on the right.
2. Switch the View option to Category mode and open the Appearance and personalization menu.
3. Open the Folder Options.
4. In the window that appears, open the View tab, scroll down the list of options and select Show hidden files, folders and drives.
5. Click Apply and then click OK button to save the changes.
Solution two. Format the SD card correctly
1. Connect the SD card to the computer.
2. Open My Computer and find the damaged drive in the list on the left.
3. Right-click the name and select Format.
4. Select the NTFS file system and start the formatting process.
The card is now ready to use!